It's been almost a month since my last crafty goal update, so I figured I should do another one. I've had some challenges, and took the time to revisit and revise some of my goals.
What's working:
- Notepad for sketches, ideas, color combos and card layouts.
This is working fabulously, and I wish I'd thought of it sooner. Aside from having one central place for my random ideas, it's also been a great place to write down measurements for boxes (and I'm planning on making several boxes to go with the card sets).
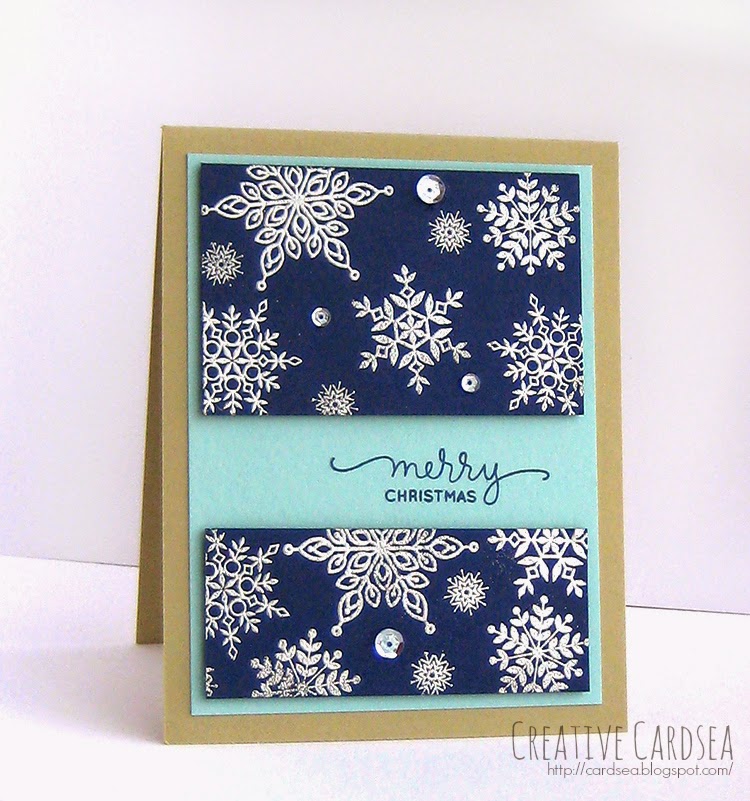
- Making Christmas card sets to give away in a few weeks.
I've always only made one-of-a-kind sort of cards, and often taking quite a long time with fancy things like Copic coloring, watercolor and other elaborate techniques. But one-of-a-kind cards were not an option as a gift this year. So, I've found myself making sets where multiple cards have the same layout/stamp/sentiment, etc. And it's been really great! I've started to appreciate some of the simpler things like die-cutting and stamping - things I might have otherwise taken for granted.
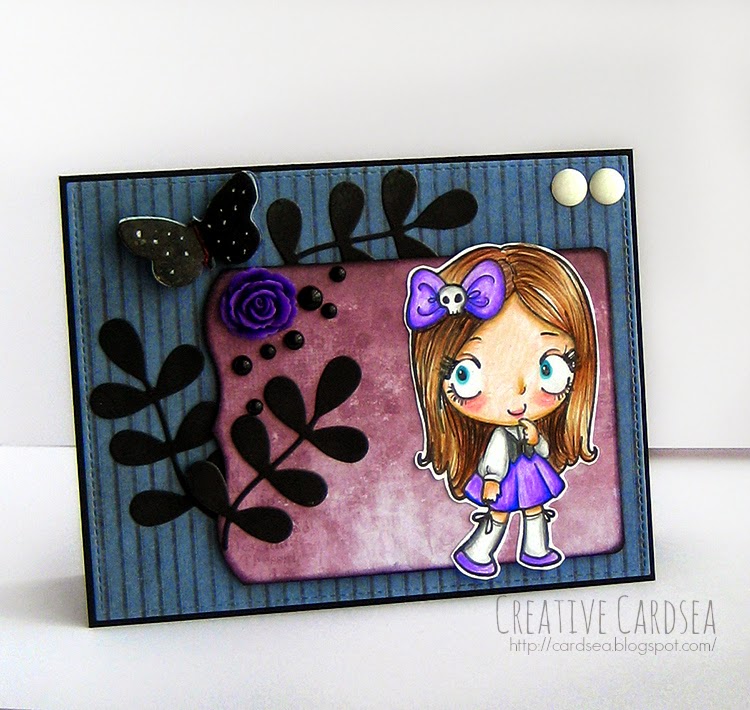
- Prismacolor pencils.
I really wish I'd gotten them sooner! They're wonderful to work with and I'm really enjoying coloring with them. I was using your average colored pencil before, and it didn't give the best of results. It was a bit like the difference between using 99c Crayola markers and using Copics. Having a higher-quality pencil set made a huge difference.
What's not working:
- Basket with project for next time I make a card.
Now, this idea sounded just perfect in theory. It sounded like it would streamline my process and make it so cards come together faster. Except, in practice, it sort of fell flat. I either completely ignored the basket and made what I felt inspired to make. Or I sat to make the project from the basket and hit creative blocks. Plus, there's that slightly obsessive-compulsive part of me that was irritated with all the supplies not being in their place... So, I think I'm going to have to tweak the project basket idea until I find something that works.
- Spending Freeze.
As in, I've broken it not once, but several times now. The first time was when I saw that MFT was having a major sale and that they were retiring some of the stamps on my lengthy "to-get" list. So, of course, I went totally crazy and bought so many things that I have nowhere to store them anymore. And then I had to make another order because I couldn't resist the new Birdie Brown stamps. Which, in turn, led to another order of some must-have stamps from other companies and I ended up blowing through another ridiculously high figure. The month's not even over yet! *sigh*
New/Updated Goals:
- Sharing more cards created with older stamps.
One of the things I always find a little frustrating - and hopefully I'm not the only one - is when I see a great stamp only to find out that it's unavailable (whether it's because it's retired or because the company went out of business). So, for quite some time now, I've mainly shared cards that had stamps I could link to. However, this meant that I also had to pretty much always share only the newest stamps and my older stamps sat there collecting dust. And the thing is... a lot of those "older" or retired stamps were actually
new to me. I never even got a chance to make something with them before finding out they were retired.
The other thing that I realized is that there's this fear that if I don't use the latest stuff, I will never get
noticed. Which, after thinking about it, is kind of silly. I had to remind myself (several times) that I'm not making cards to
get noticed. It's always thrilling when it does happen, mind you, and I am
extremely grateful to every person and/or company that's taken the time to let me know what they think of my creations. But card-making is my personal journey into creativity and art. It's helping me feel connected with those parts of myself that like to color, and tinker, and make things. It's not a job, not an obligation or a chore. It's plain fun, and I should take a moment every now and then to appreciate that.
So, I'm going to push myself to make what I feel like making and worry less about whether I can link to it or not. I've learned from the Concept Trio challenge that you can create an amazing card whether you use the best and newest or a much, much older set.
- Exercise/Workout + Crafting = Awesome!
One of my other goals is to get into shape. My current job is a work-from-home kind of job, and usually involves a lot of sitting at the computer - and it's especially bad when I have large-scale projects that require a lot of time and attention. Combine that with my general home-body tendencies and you've got a lady that's completely out of shape.
I've been trying to do the whole regular exercise thing for a while now, but it always ends up going off-track. Kind of like that spending freeze...
But my husband had this brilliant idea of combining exercise with buying crafting supplies. Basically, for every minute of exercising, I would "earn" some money to spend on crafty supplies. It's completely guilt-free and giving me a chance to tackle two of my goals at once. Since I'm so out of shape, I'm sure my initial budget will be really tiny -- that means being careful about spending and saving up for things like new releases and sales. But if I keep it up, the budget will get much bigger.
It'll probably sound silly to most, but I'm pretty excited about it. It won't hurt to try, in any case.
- Create a patterned paper challenge for myself.
I have veritable TOWERS of patterned paper. And since I'm always drawn to paper, I keep finding new must-have sets that I can't resist buying. But the towers of paper are starting to look mighty dangerous, so I need to start using up paper - and fast!
I want to create a challenge that would use up paper pads, but at the same time not turn into a "make this one card with 50 different papers" kind of deal. That sounds like it would be a chore rather than fun, so I'm going to put on my thinking cap and try to think of a good challenge.
And that's it for my as-always-super-lengthy update. Next time, there will be less talking and more card sharing. In the meantime, I leave you with this super quick card sketch I made while trying to figure out if I should make sketches on paper or on the computer:
Paper won out in the end. So, this might be the only digital sketch I share. But feel free to use the layout or the color combination (or both!)